Key takeaways
- Put a ruler or tape measure in every photo so the size is visible
- Shoot every face, then close-ups of the wear, the break and any numbers
- Measure diameters in more than one place and write them down
- Count threads with a pitch gauge, or count threads per inch against a ruler
- Note the machine, what the part does and how it failed
When a machine goes down, the part on the bench is often the only drawing you have. A few minutes spent on pictures and sizes before you call turns that part into something a machinist can read. It also means the shop can ask better questions on the first call, instead of the tenth.
Set up the photos
Clean the part enough that you can see the surface, but do not wire-brush away the evidence. Wear marks, polishing and discoloration tell a machinist how the part failed. Put the part on a plain surface, such as a workbench or a sheet of cardboard, and use bright, even light. Daylight from a window or a shop light from the side works better than a flash straight on, which washes out detail.
Place a ruler or tape measure next to the part in every shot. A coin or a hand does not help; a ruler does. Keep the lens square to the face you are shooting so the part is not distorted, and take the photo from far enough back to fit the whole part, then again closer.
Shoot every face
Take the part from the top, bottom, both ends and both sides, so no feature is hidden. Add one photo of the whole part with its mating part or the spot on the machine it came from, so we can see how it mounts and what it touches.
Then take close-ups of the damage: the crack and where it ends, the worn bore, the rounded keyway, the stripped thread or the scored seat. Photograph any part numbers, casting marks or stamps. If a number is hard to read, a photo at an angle with light from the side makes the letters stand out.
Measure what you can
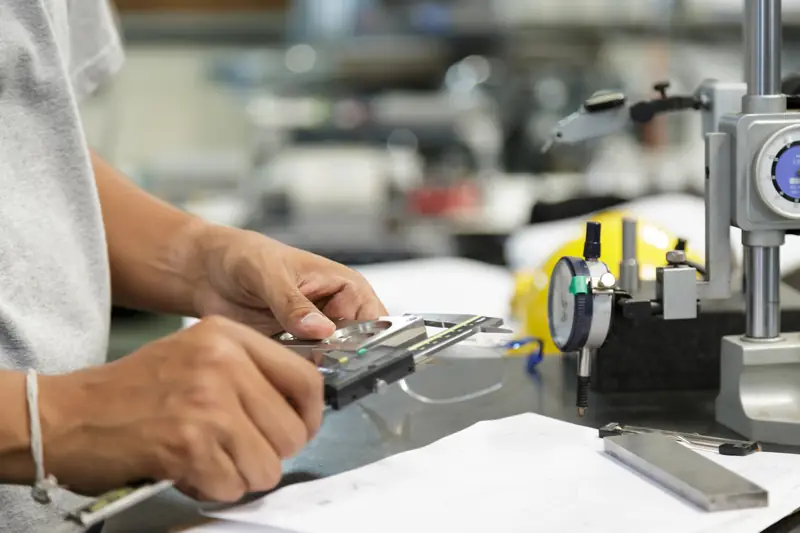
Calipers are the right tool for most small and medium parts. Measure a shaft diameter in several places along its length and at two angles around it, because a worn shaft is often oval or tapered. Write down the largest and the smallest reading. Measure a bore the same way, with the jaws or inside-measuring tips, and note its depth.
For parts too large for calipers, use a steel tape or a straightedge and a tape, and measure what you can: overall length, width, outside diameter and the distance between holes. For a threaded part, a thread pitch gauge tells you the thread, and so does counting how many thread crests fall in an inch against a ruler. Add the outside diameter of the thread. For a keyway, write down the width, the depth and the length. For a round part, note the shaft and bore sizes that bearings or seals sit on.
Write down the story
Along with the photos and numbers, say what the part is from, what it does, how it failed, and what you want: a repair, a new part, or a look at whether it can be saved. If you know the make and model of the machine, add them. A short note such as "pump shaft, bearing seat worn, bearing spun" saves a long phone call.
If you have no drawing, these photos and measurements are the start of one. Wolf Machine will gladly work from your specifications, drawings or samples, and can help design the part when all you have is the old one.
Send it to the shop
Attach the photos to the quote request along with your notes and measurements, or bring the part to the shop at 4812 Longley Ln in Reno. Photos are a good place to start, and we will tell you what else we need to see. The how it works page describes what happens next.
If the part cannot come off the machine, say so. Millwright and field work and portable align boring are done at your site, and photos of the machine help plan the job.
Sources
- Xometry knowledge base: file types (2026-10-18)
- NIST Office of Weights and Measures, Unit conversion (inch and metric) (2026-10-18)